


Bathroom Tanking DIY Tips: A Step-by-Step Guide
- qdsireland
- May 26
- 4 min read
When it comes to protecting your bathroom from damp and water damage, tanking is one of the most effective solutions. Tanking creates a waterproof barrier on walls and floors, preventing moisture from seeping through. Whether you are renovating an old bathroom or building a new one, learning how to do bathroom tanking yourself can save you money and give you peace of mind.
In this guide, I will walk you through the entire process of bathroom tanking. I will share practical tips, explain the materials you need, and provide clear steps to follow. By the end, you will feel confident tackling this important task on your own.
Understanding Bathroom Tanking DIY Tips
Bathroom tanking involves applying a waterproof coating to surfaces that are prone to moisture exposure. This includes walls, floors, and sometimes even ceilings in wet areas. The goal is to create a continuous, impermeable layer that stops water from penetrating the structure.
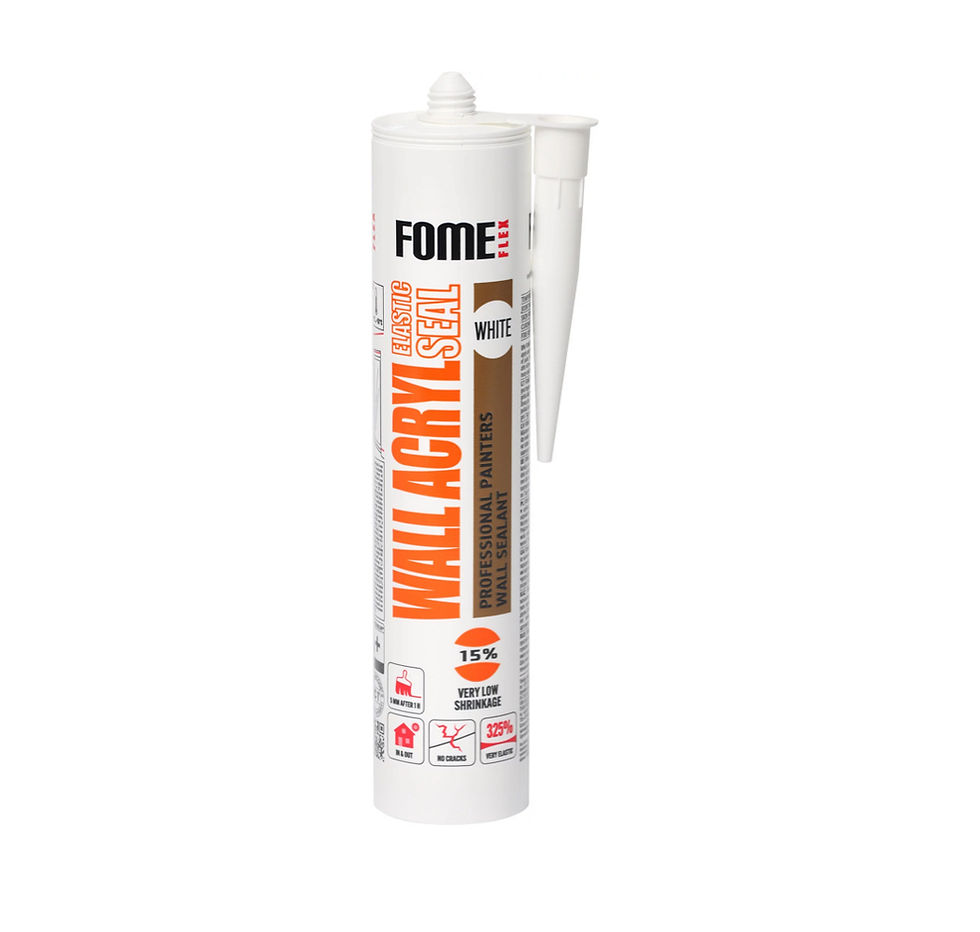
There are different types of tanking products available, such as liquid membranes, cementitious coatings, and sheet membranes. For DIY projects, liquid tanking membranes are often the easiest to apply. They come ready to use and can be brushed or rolled onto surfaces.
Here are some key bathroom tanking DIY tips to keep in mind:
Prepare the surface thoroughly: Clean walls and floors of dust, grease, and loose material. A smooth, dry surface ensures good adhesion.
Repair any cracks or holes: Use a suitable filler or mortar to fix imperfections before tanking.
Apply primer if recommended: Some tanking products require a primer coat to improve bonding.
Use reinforcing tape on corners and joints: This prevents cracks forming in vulnerable areas.
Apply multiple coats: Usually two or three coats are needed for full waterproofing.
Allow proper drying time: Follow manufacturer instructions for drying between coats and before tiling or painting.
By following these tips, you can achieve a durable and effective waterproof barrier.

Essential Materials and Tools for Bathroom Tanking
Before starting, gather all the materials and tools you will need. Having everything ready makes the process smoother and helps avoid interruptions.
Materials
Waterproof tanking membrane (liquid or cementitious)
Primer (if required by the membrane)
Reinforcing tape or mesh for corners and joints
Filler or mortar for repairs
Masking tape to protect edges
Sandpaper or wire brush for surface preparation
Tools
Paintbrushes and rollers (different sizes for walls and corners)
Mixing bucket and drill with paddle mixer (if membrane requires mixing)
Trowel or putty knife for repairs
Measuring tape and pencil for marking
Protective gloves and goggles
Dust mask for sanding or cleaning
Make sure to choose a tanking membrane suitable for bathrooms and wet rooms. Check product labels for compatibility with tiles or paint if you plan to finish the surface later.
Step-by-Step Bathroom Tanking Process
Now, let's go through the step-by-step process of bathroom tanking. I will explain each stage clearly so you can follow along confidently.
Step 1: Prepare the Surface
Start by removing any old paint, wallpaper, or loose plaster. Use a wire brush or sandpaper to roughen smooth surfaces slightly. Clean the area thoroughly to remove dust, grease, and dirt. If there are any cracks or holes, fill them with a suitable filler or mortar and allow it to dry completely.
Step 2: Apply Primer
If your tanking membrane requires a primer, apply it evenly with a brush or roller. This helps the membrane stick better to the surface. Allow the primer to dry as per the product instructions.
Step 3: Tape Corners and Joints
Corners, joints between walls and floors, and around pipe penetrations are vulnerable to leaks. Apply reinforcing tape or mesh to these areas while the first coat of membrane is still wet or as directed by the product. This strengthens the waterproof barrier.
Step 4: Apply the First Coat of Tanking Membrane
Using a brush or roller, apply the first coat of the tanking membrane evenly over the entire surface. Pay special attention to corners and edges. Avoid leaving thin spots or gaps. Let the first coat dry fully before proceeding.
Step 5: Apply Additional Coats
Apply at least one or two more coats of membrane, allowing each coat to dry completely. Multiple coats ensure a strong, continuous waterproof layer. Follow the drying times recommended by the manufacturer.
Step 6: Inspect and Finish
Once the final coat is dry, inspect the surface for any missed spots or thin areas. Touch up as needed. After the membrane cures fully, you can proceed with tiling or painting your bathroom walls and floors.

Tips for Long-Lasting Bathroom Tanking
To make sure your bathroom tanking lasts for years, consider these additional tips:
Maintain good ventilation: Proper airflow reduces moisture buildup and helps the membrane dry properly.
Use quality materials: Invest in reputable tanking membranes and primers designed for wet areas.
Follow manufacturer instructions carefully: Each product has specific application and drying requirements.
Protect the membrane during tiling: Avoid damaging the waterproof layer when fixing tiles or other finishes.
Check for leaks regularly: Early detection of any water ingress can prevent costly repairs.
By taking these precautions, you ensure your bathroom remains dry and protected.
Where to Find Reliable Supplies for Your Project
For anyone working on bathroom tanking in Ireland, sourcing quality materials is crucial. Quality Direct Supplies offers a wide range of trusted construction products, including waterproofing membranes and primers. Their expert support can help you choose the right products for your project.
If you want to learn more or get detailed instructions, check out this diy bathroom tanking guide. It provides comprehensive advice tailored to DIY enthusiasts and trade professionals alike.
Getting Started on Your Bathroom Tanking Project
Now that you understand the process and have the right materials, you are ready to start your bathroom tanking project. Remember to take your time with surface preparation and apply each coat carefully. The effort you put in now will pay off with a dry, durable bathroom for years to come.
If you have any questions or need advice on products, don’t hesitate to reach out to suppliers who specialise in construction materials across Ireland. With the right support and a clear plan, bathroom tanking is a manageable and rewarding DIY task.
Good luck with your project!

Comments